> ## Documentation Index
> Fetch the complete documentation index at: https://rimelabs-docs-coda-websocket-reference.mintlify.site/llms.txt
> Use this file to discover all available pages before exploring further.
# Vapi
> Connect Rime TTS to Vapi for phone-based voice agents and IVR systems.
export const IntegrationHeader = ({partnerLogo, partnerAlt = "Partner logo", rimeLogo = "/images/rime_logo_new.svg", rimeAlt = "Rime logo", rimeHeight = "40px", partnerHeight = "40px"}) =>
 +
+

;
 Configure a [Vapi](https://vapi.ai) assistant to use Rime for speech. Vapi handles telephony and orchestration; this guide covers the model, voice, transcriber, publishing, and optional bring-your-own-key settings.
## Prerequisites
To follow this guide, you need:
* A [Vapi](https://dashboard.vapi.ai) account
* A Rime [API key](https://app.rime.ai/tokens) (optional)
## Step 1: Create the assistant
In the [Vapi Dashboard](https://dashboard.vapi.ai), open **Assistants** and select **Create Assistant**.
Configure a [Vapi](https://vapi.ai) assistant to use Rime for speech. Vapi handles telephony and orchestration; this guide covers the model, voice, transcriber, publishing, and optional bring-your-own-key settings.
## Prerequisites
To follow this guide, you need:
* A [Vapi](https://dashboard.vapi.ai) account
* A Rime [API key](https://app.rime.ai/tokens) (optional)
## Step 1: Create the assistant
In the [Vapi Dashboard](https://dashboard.vapi.ai), open **Assistants** and select **Create Assistant**.
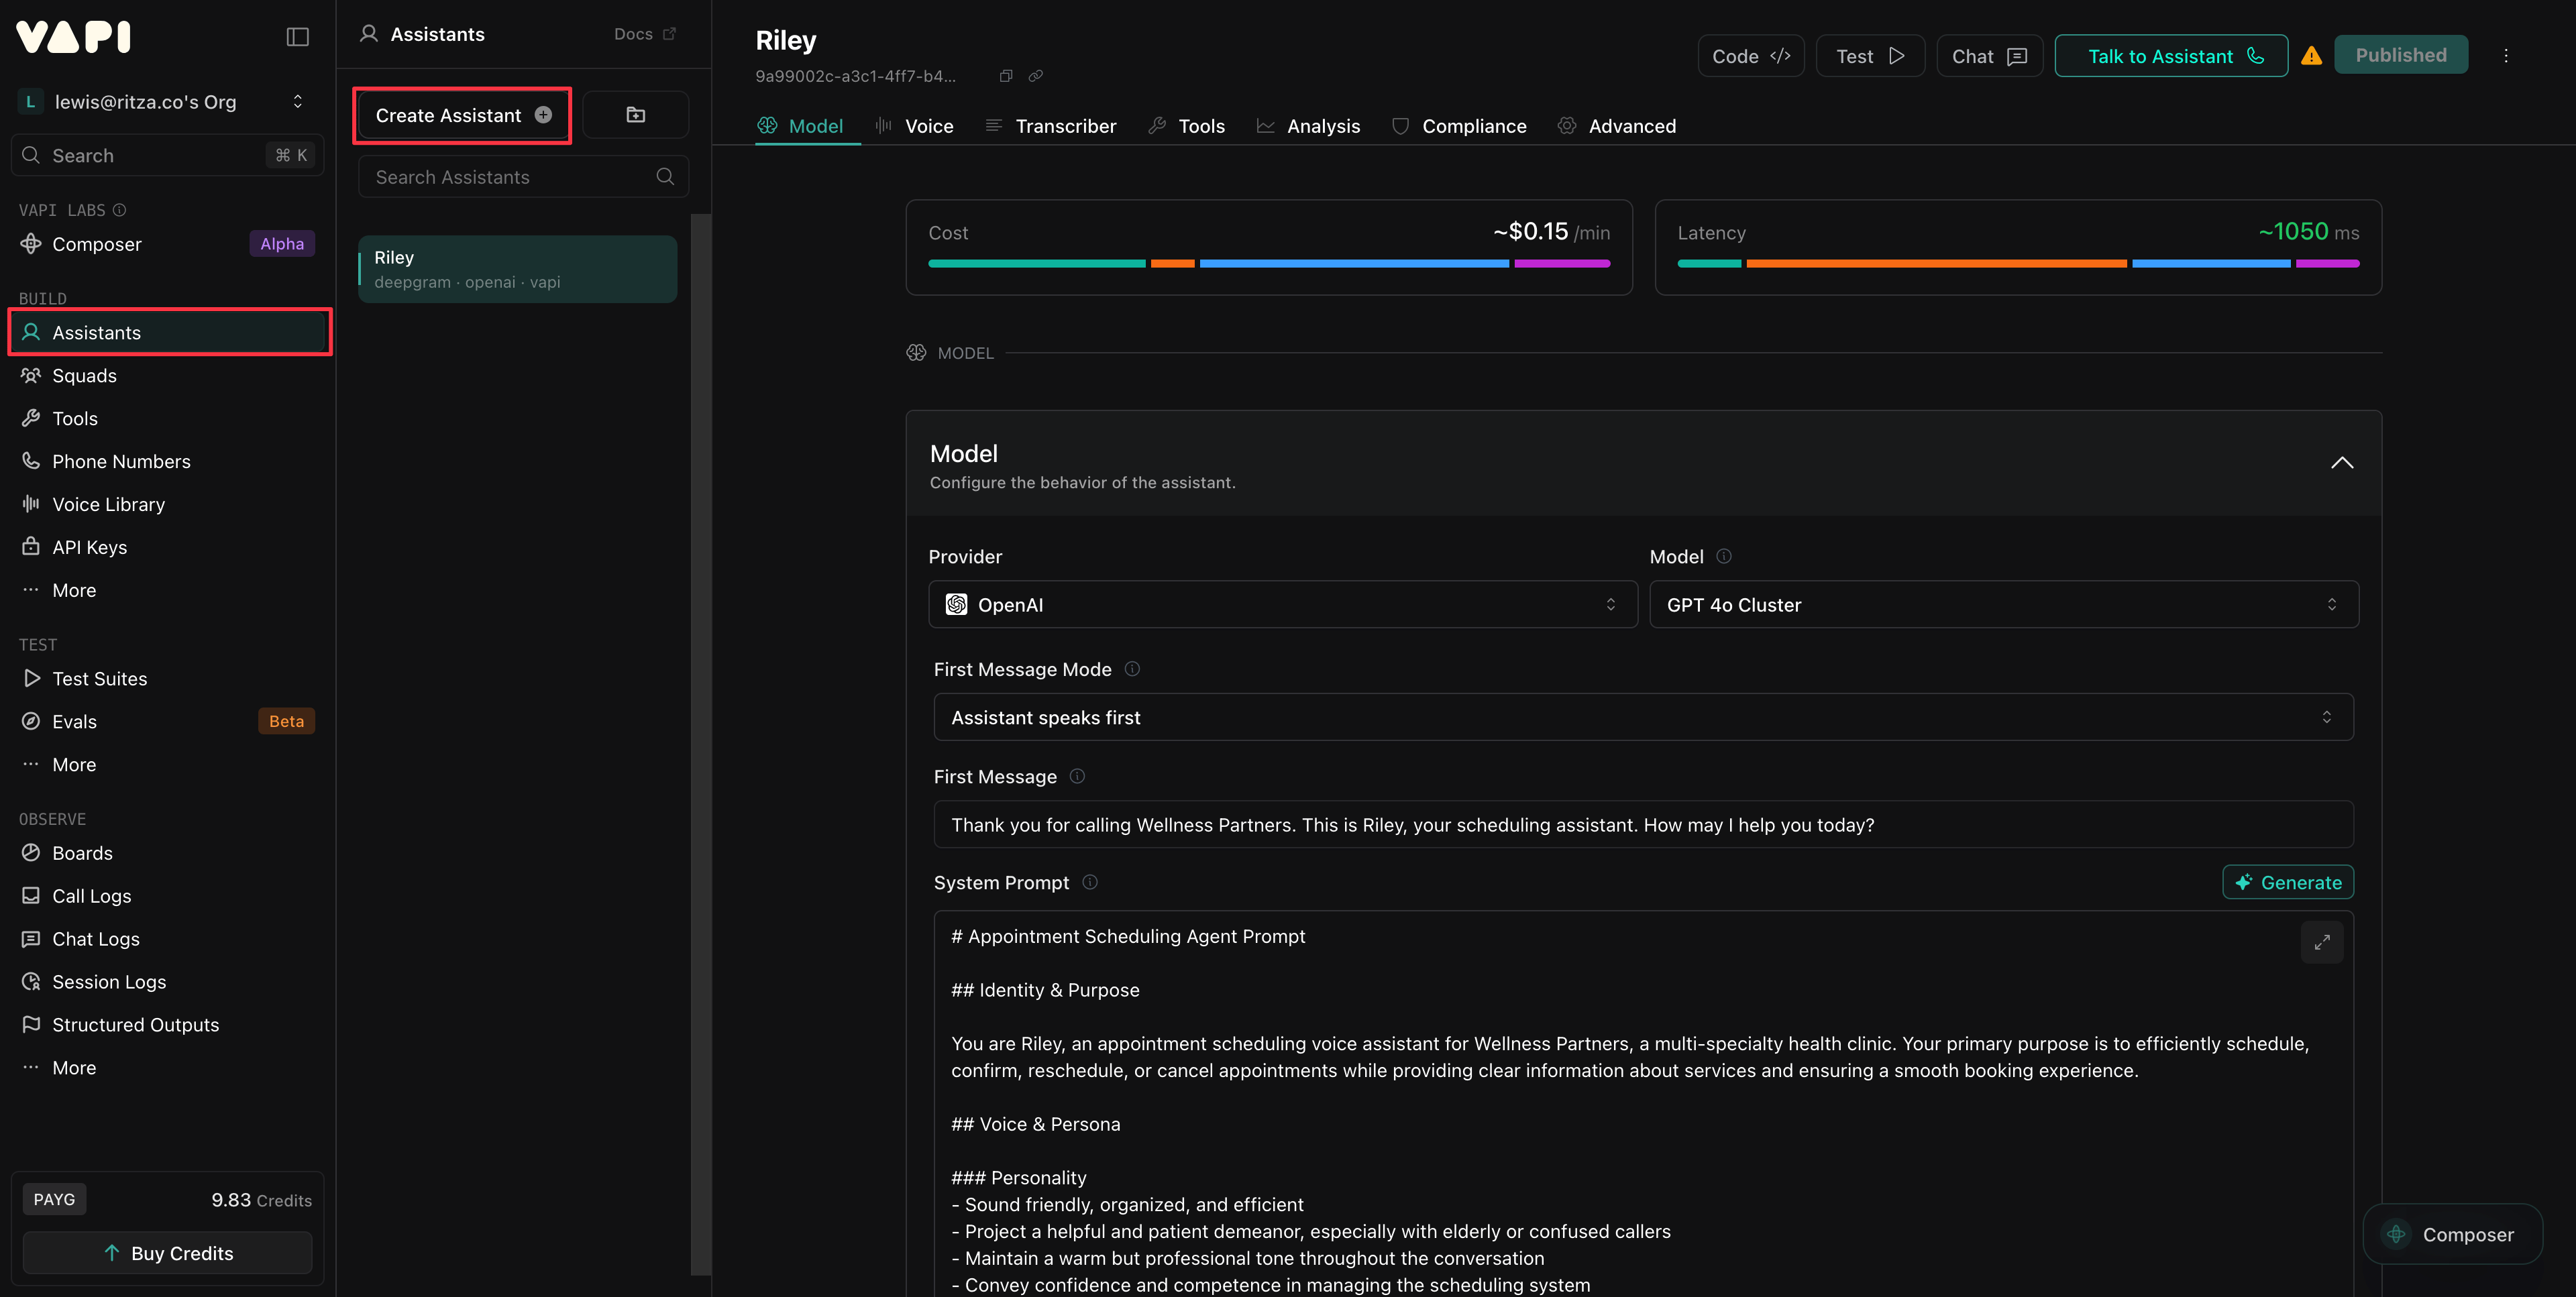 ### 1.1 Select a template
Give your assistant a name, select **Blank Template**, and select **Create Assistant**.
### 1.1 Select a template
Give your assistant a name, select **Blank Template**, and select **Create Assistant**.
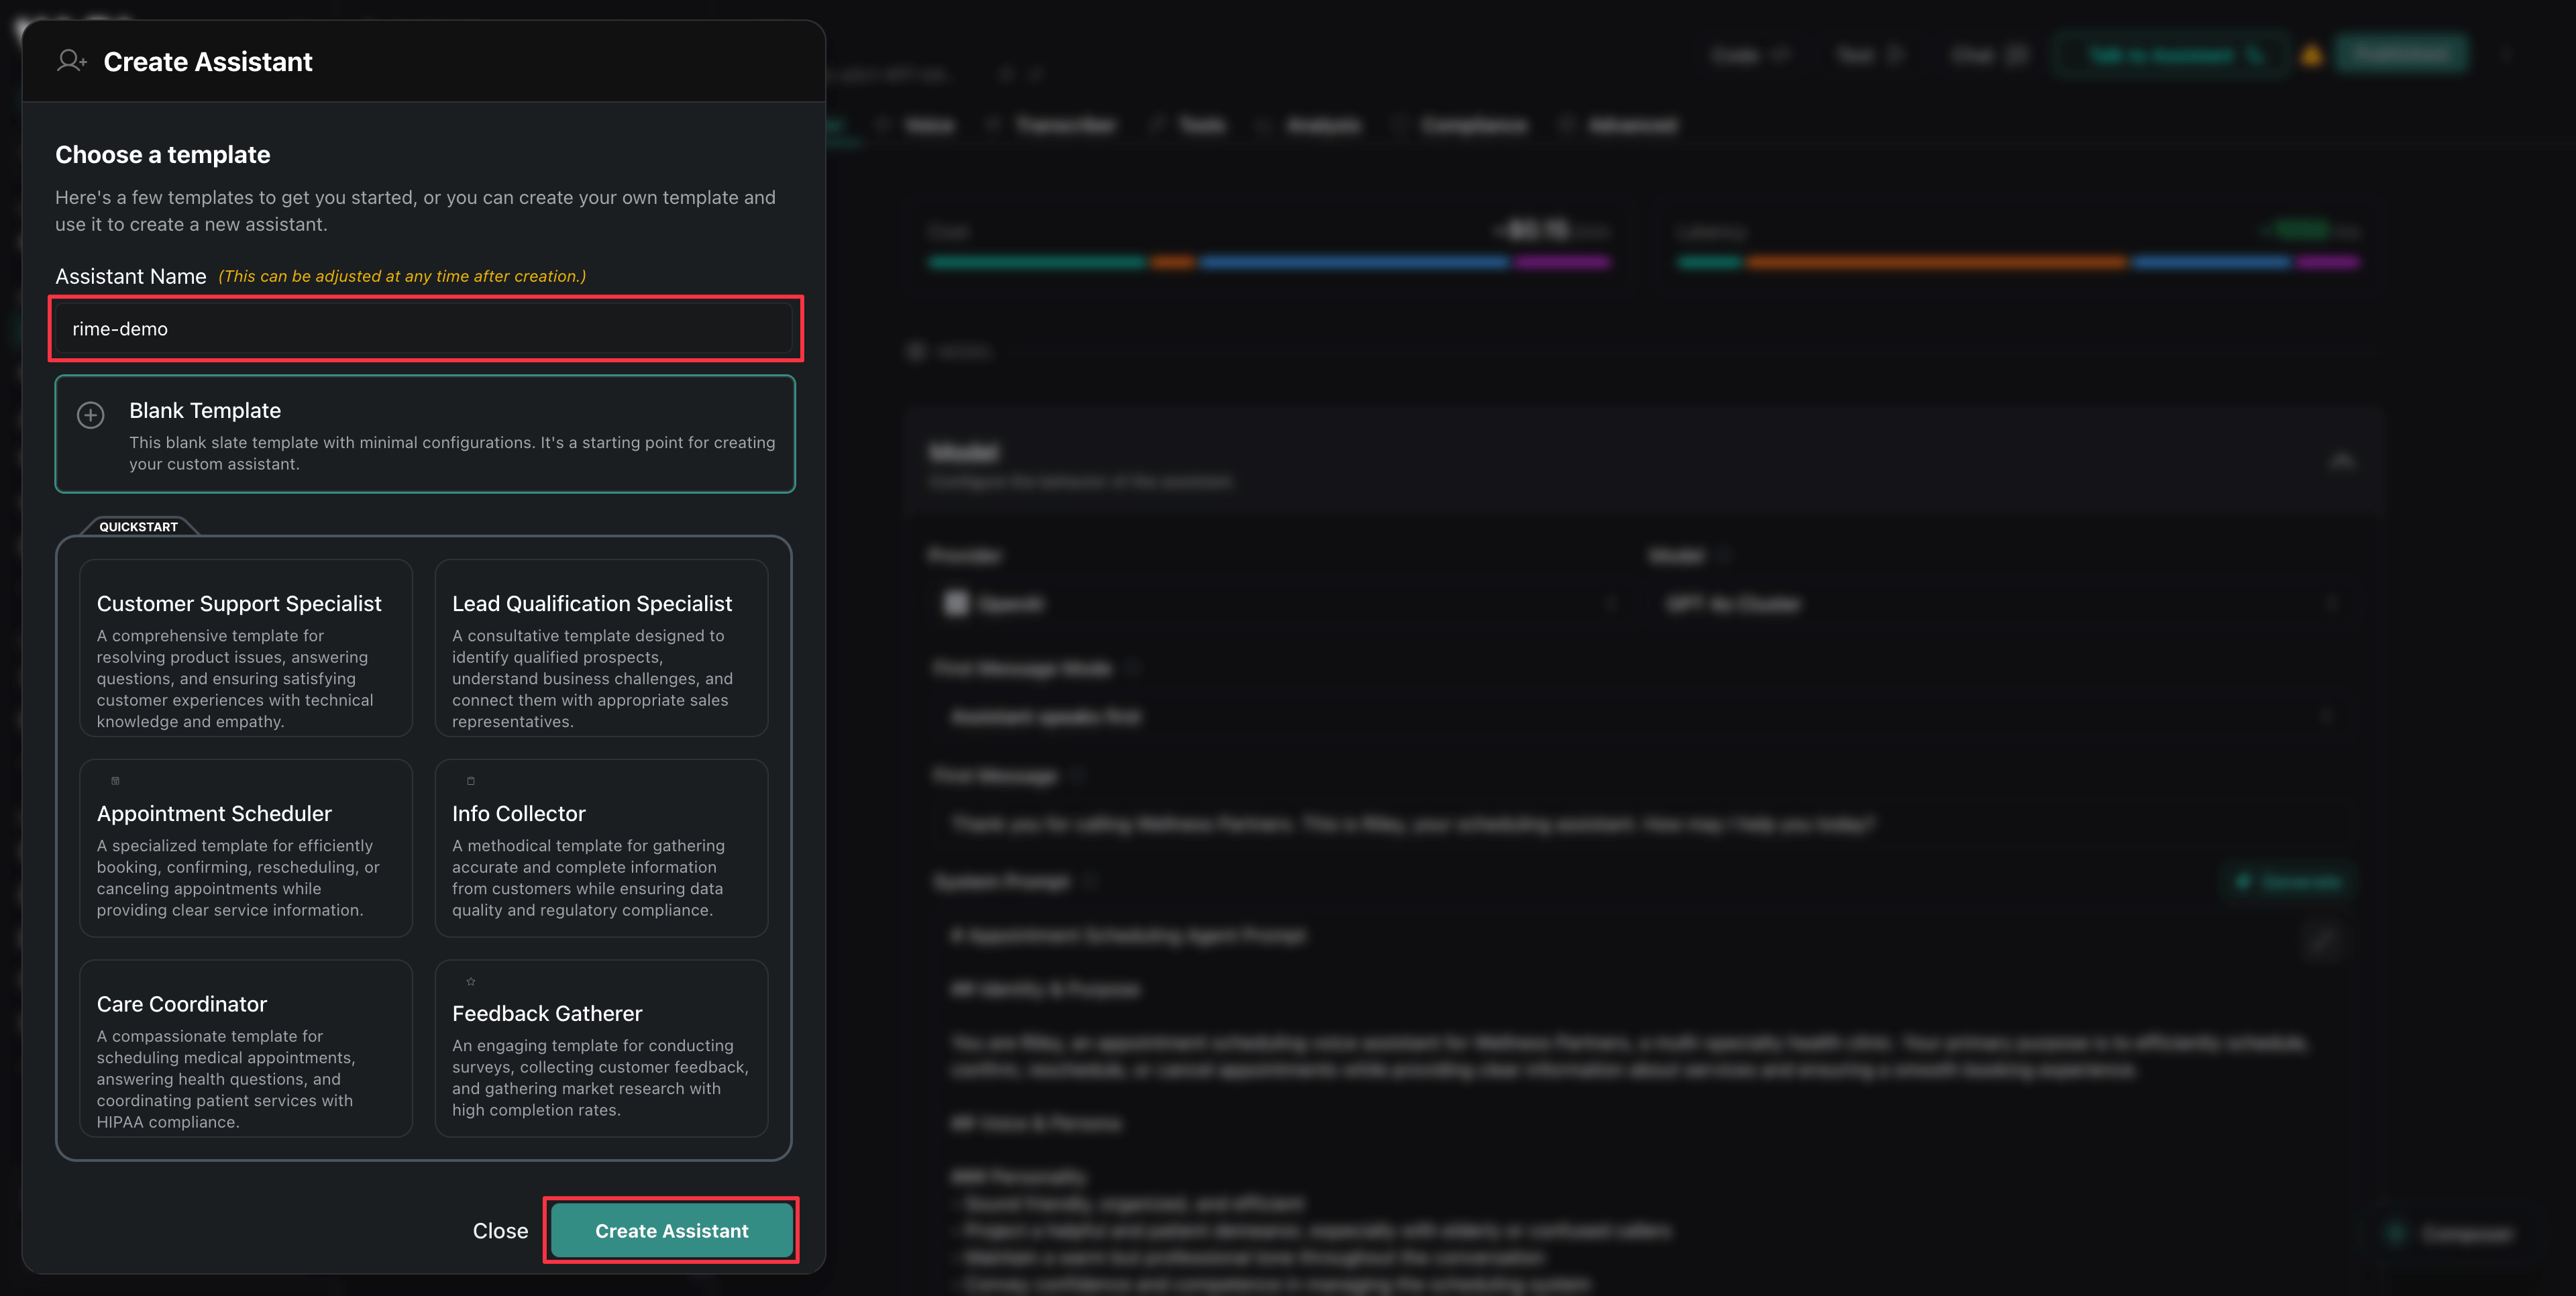 ### 1.2 Configure the model
In the **Model** tab, select your preferred LLM provider. Any option should work, but models with lower latency enable better conversational flow.
Add a **First Message** to enable your assistant to begin conversations.
Configure a **System Prompt** to define your agent's personality and behavior. For example:
```
You are a helpful voice assistant.
Keep your responses short and conversational. No more than 2-3 sentences.
Be friendly and natural.
```
Alternatively, select **Generate** to draft the prompt.
### 1.2 Configure the model
In the **Model** tab, select your preferred LLM provider. Any option should work, but models with lower latency enable better conversational flow.
Add a **First Message** to enable your assistant to begin conversations.
Configure a **System Prompt** to define your agent's personality and behavior. For example:
```
You are a helpful voice assistant.
Keep your responses short and conversational. No more than 2-3 sentences.
Be friendly and natural.
```
Alternatively, select **Generate** to draft the prompt.
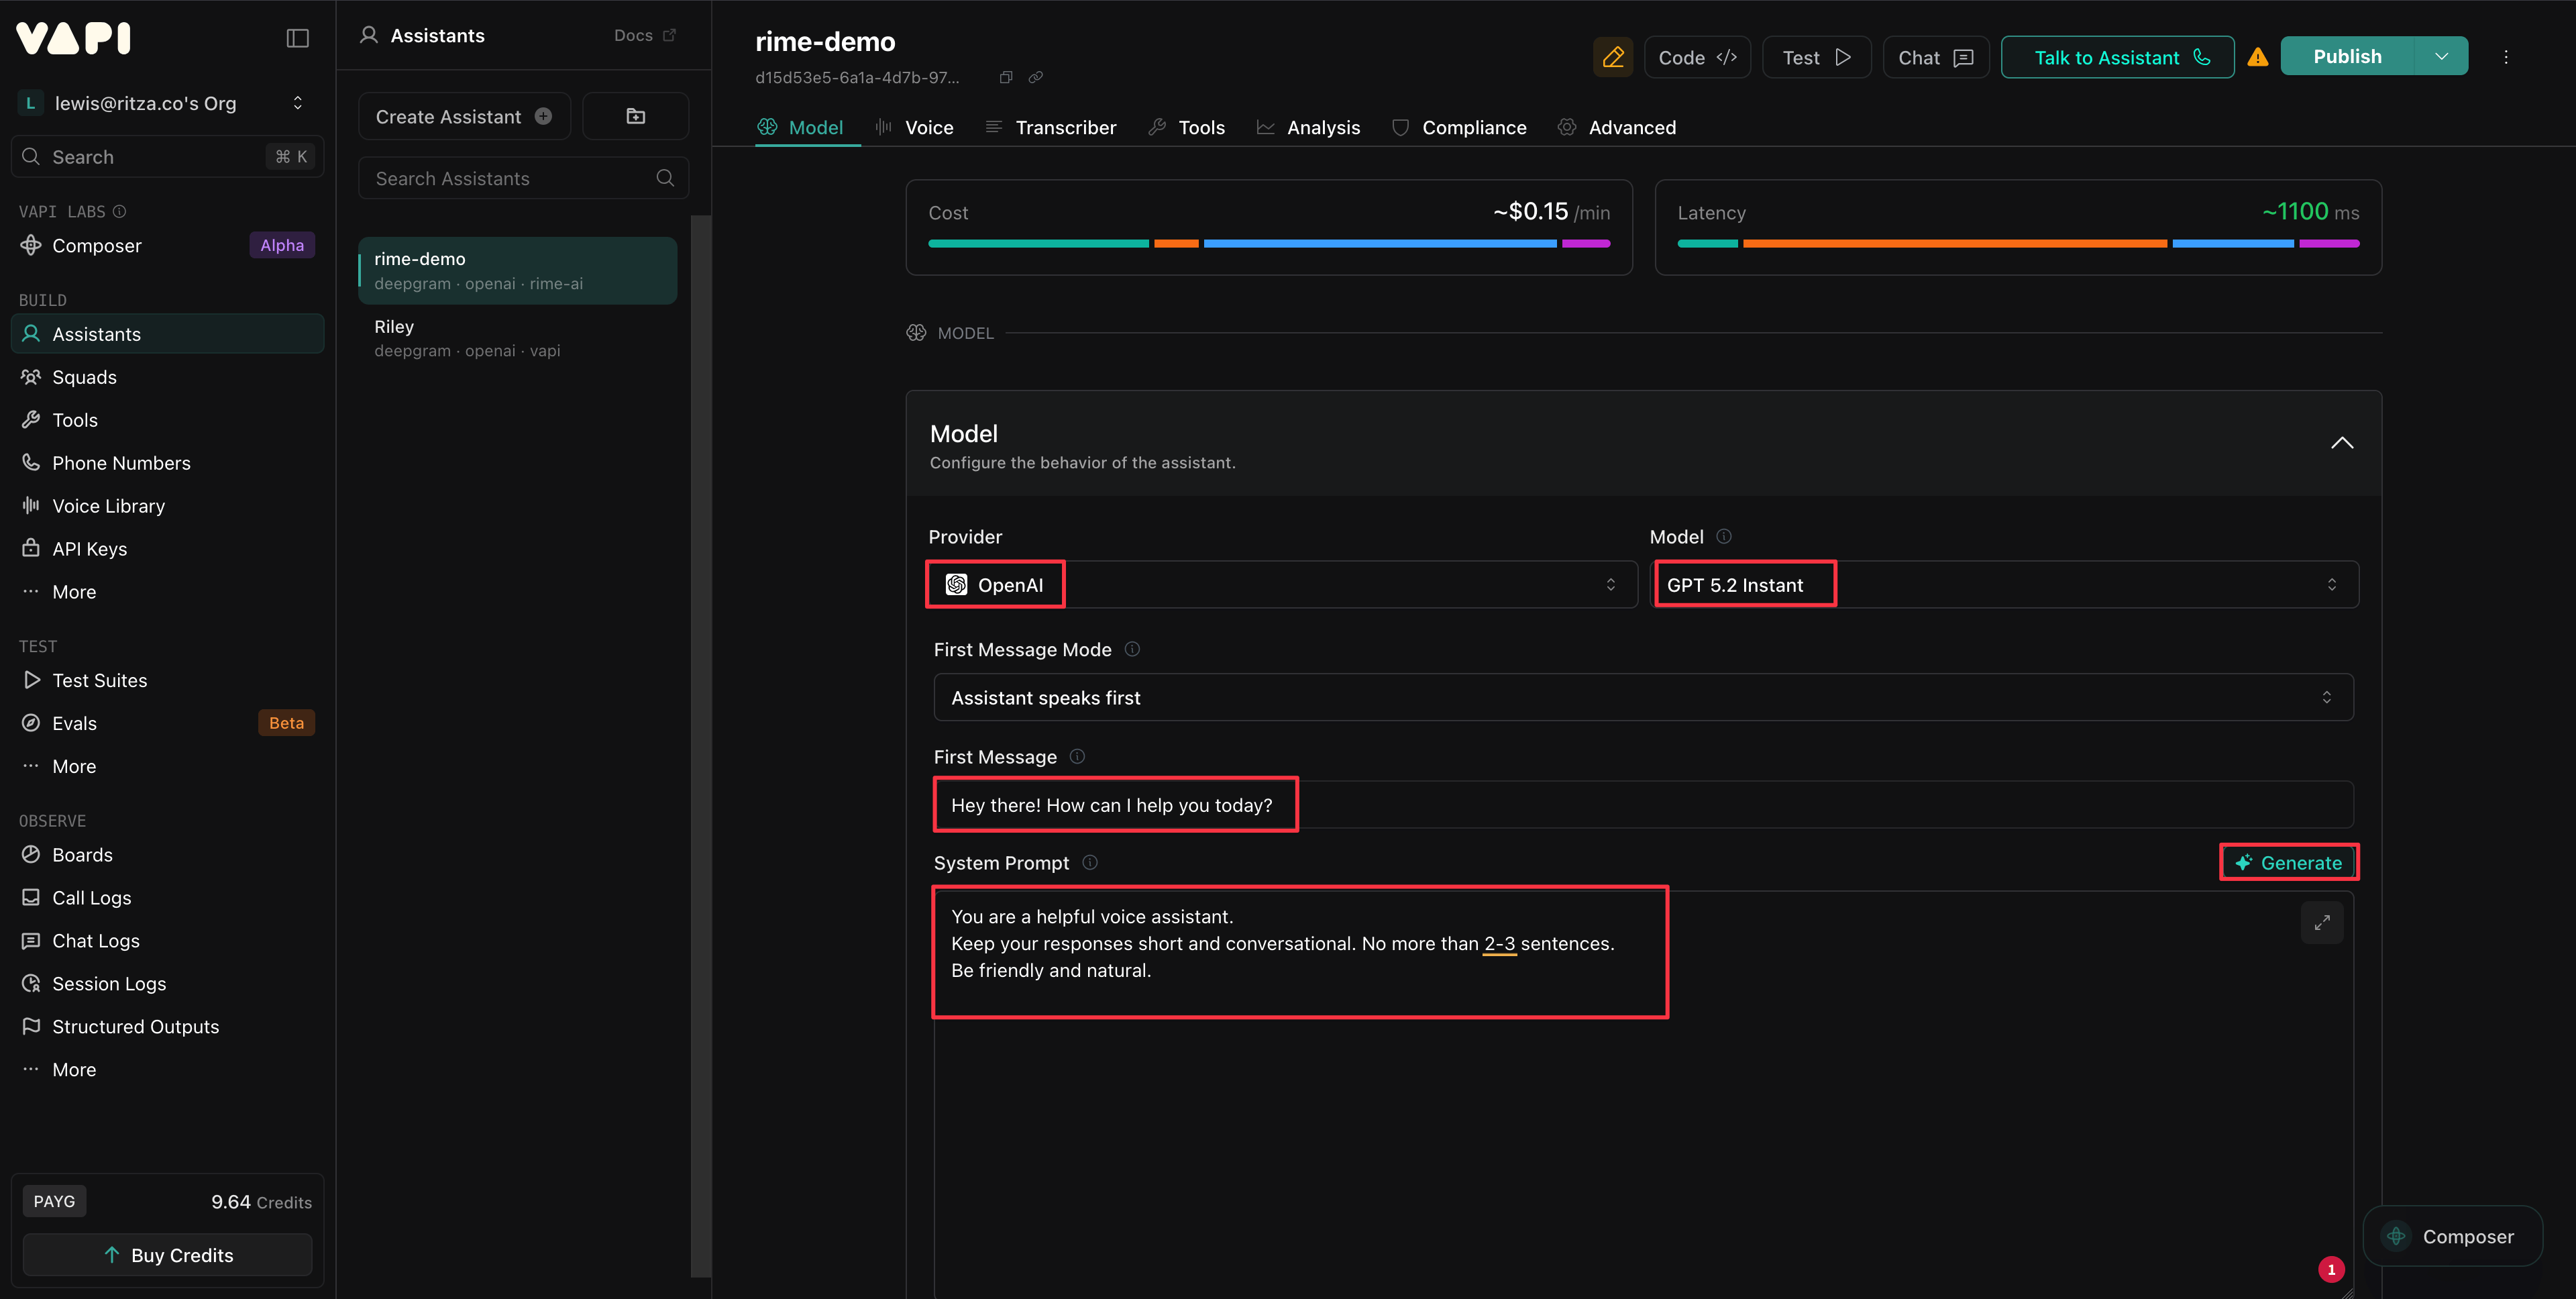 ### 1.3 Configure the voice
In the **Voice** tab, configure your assistant to use **Rime AI** as the **Provider**.
Select the **Voice** that you want your assistant to use. See the [Voices](/docs/voices) page for the Rime catalog.
Set the **Model** to **Coda**, Rime's current model.
If your Vapi account does not offer Coda in the **Model** list, contact [support@rime.ai](mailto:support@rime.ai) before publishing the assistant.
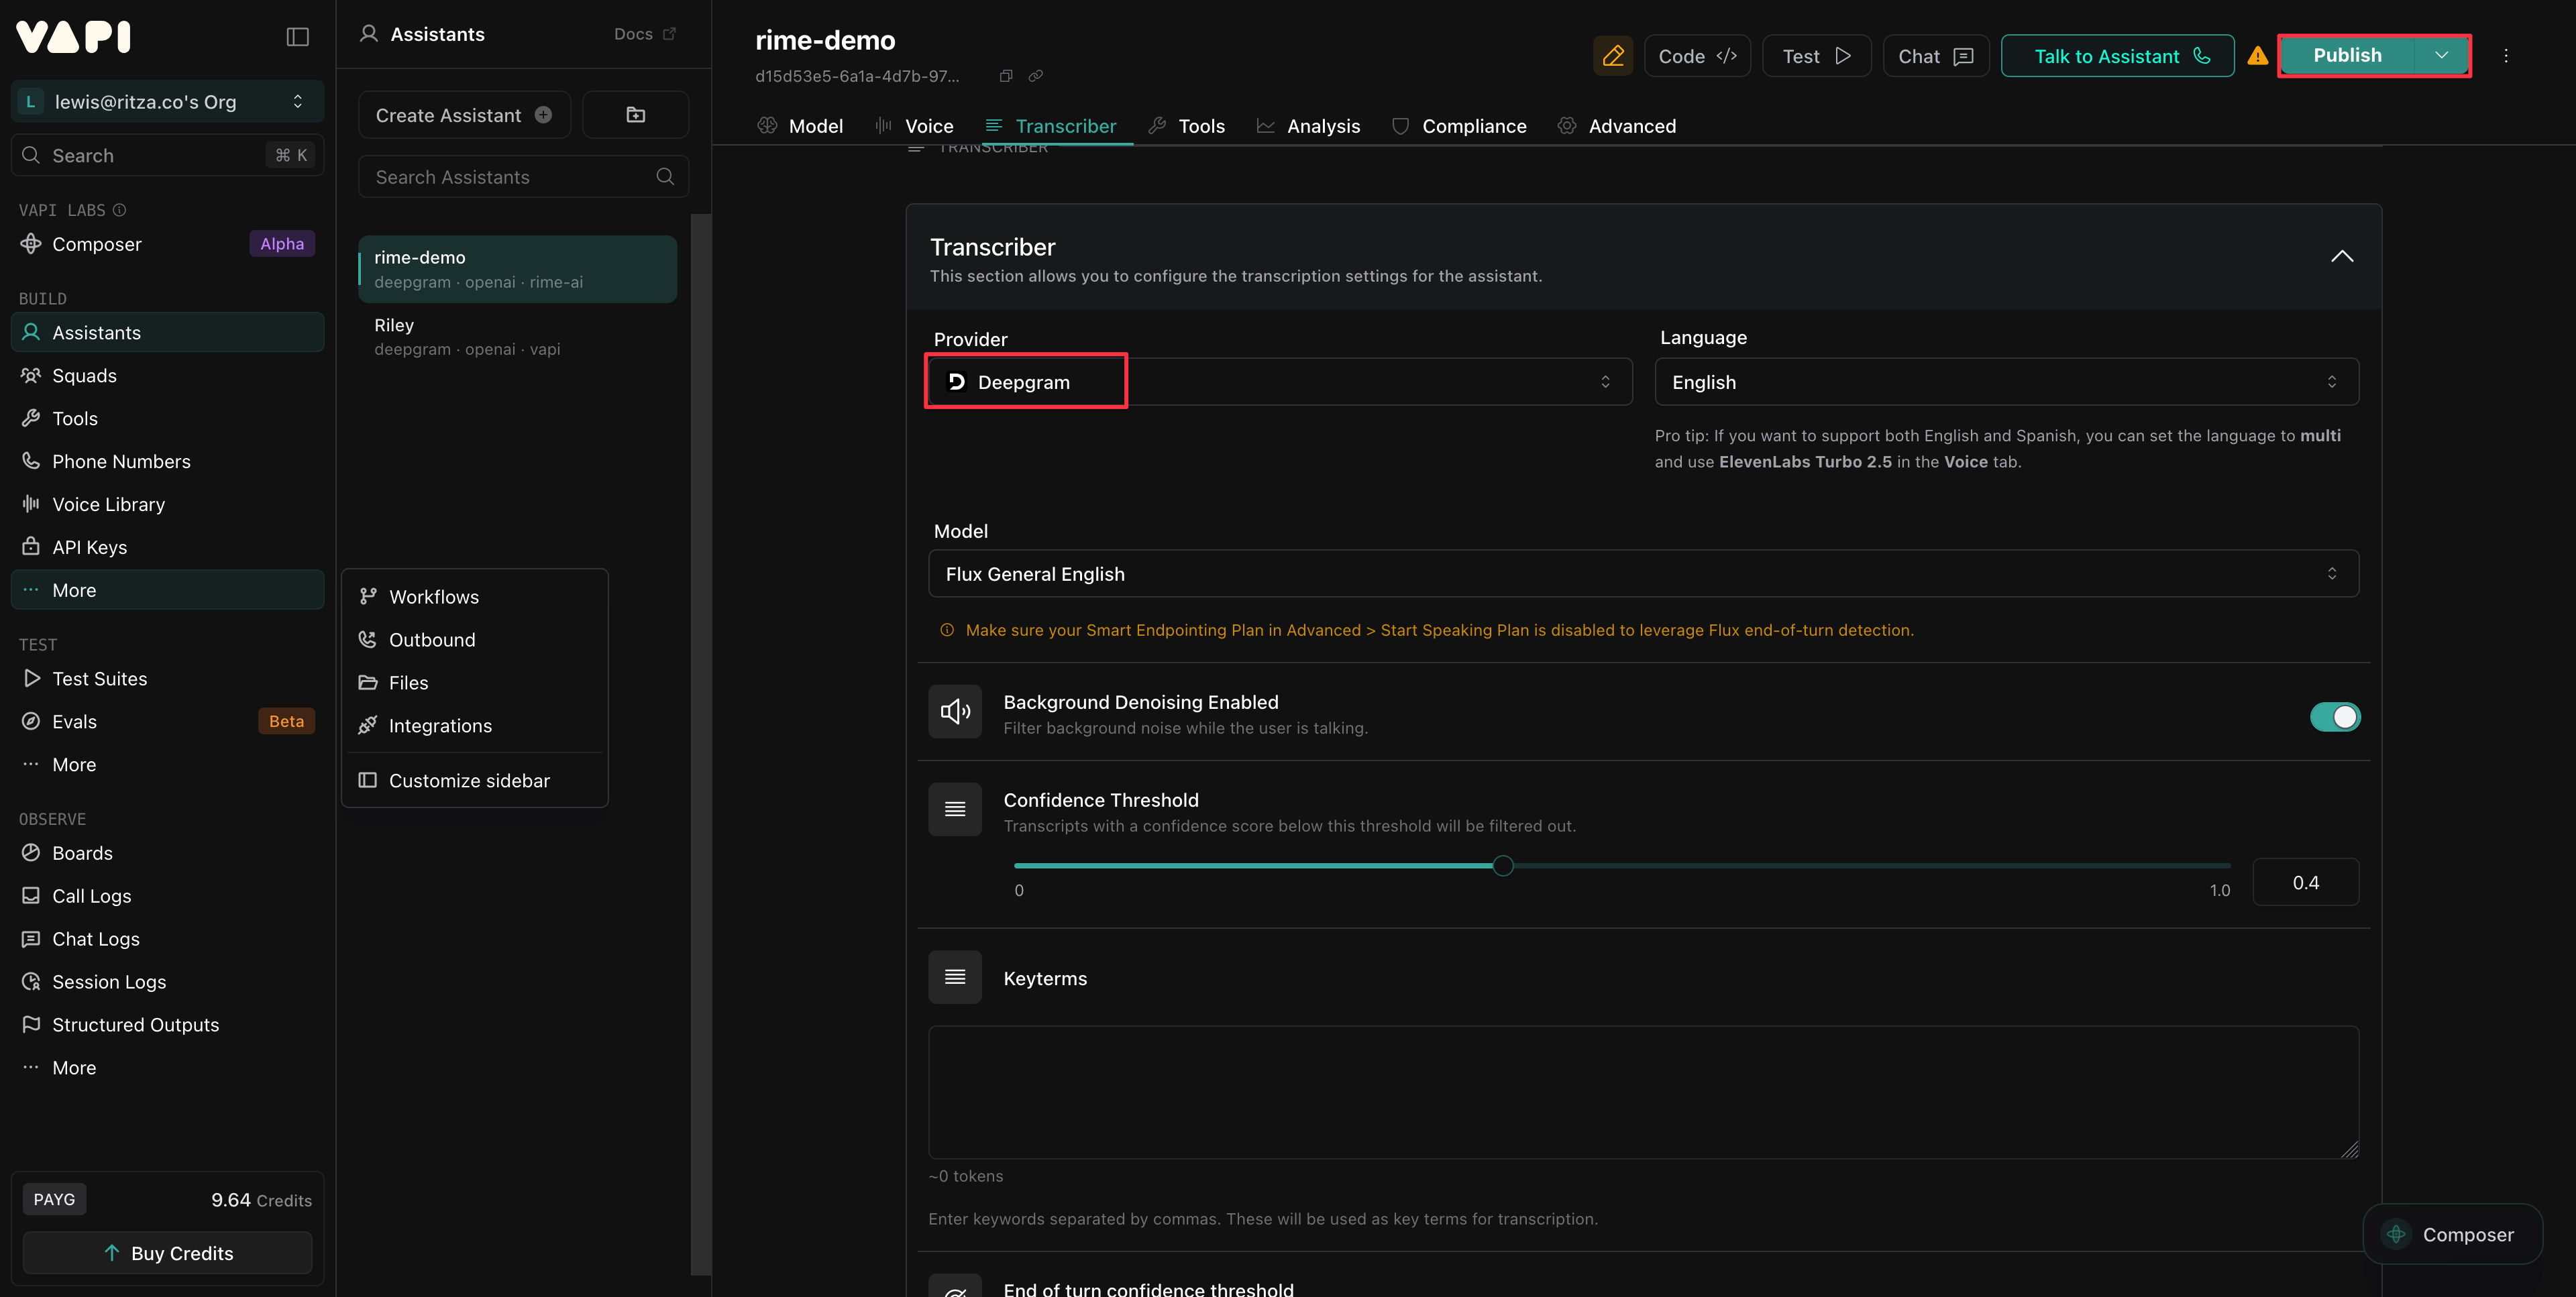
### 1.4 Configure the transcriber
In the **Transcriber** tab, select your preferred speech-to-text (STT) **Provider**, then select **Publish**.
### 1.3 Configure the voice
In the **Voice** tab, configure your assistant to use **Rime AI** as the **Provider**.
Select the **Voice** that you want your assistant to use. See the [Voices](/docs/voices) page for the Rime catalog.
Set the **Model** to **Coda**, Rime's current model.
If your Vapi account does not offer Coda in the **Model** list, contact [support@rime.ai](mailto:support@rime.ai) before publishing the assistant.
### 1.4 Configure the transcriber
In the **Transcriber** tab, select your preferred speech-to-text (STT) **Provider**, then select **Publish**.
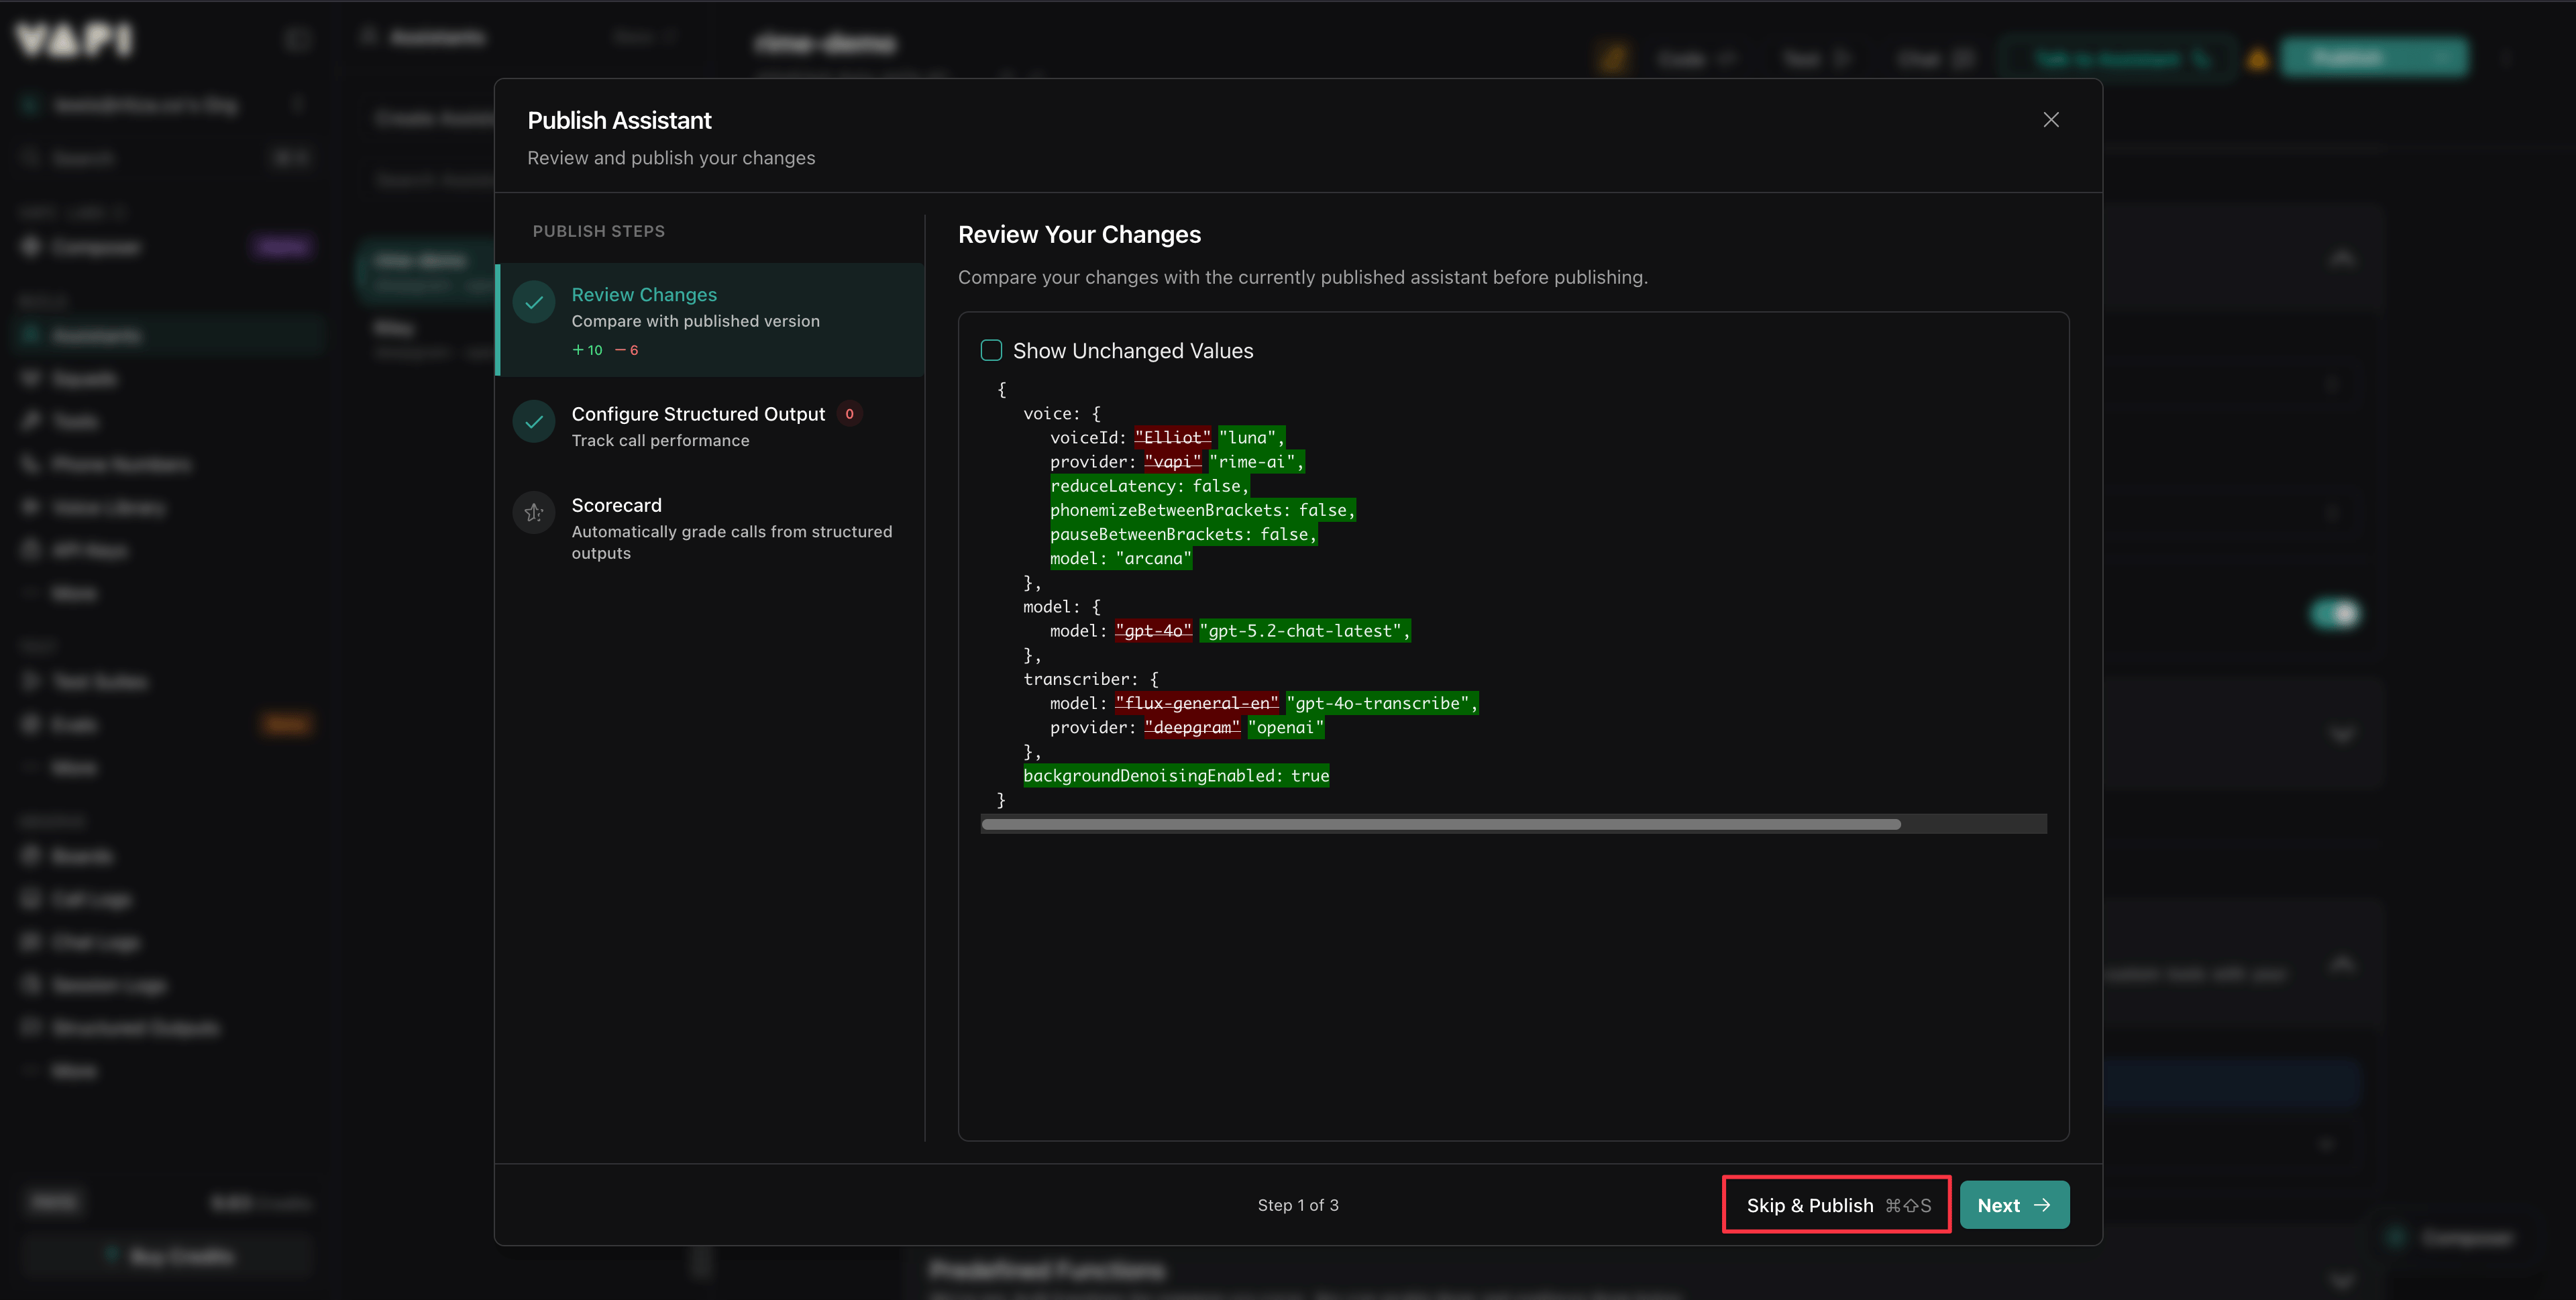
 ### 1.5 Publish the assistant
In the publishing popup window, select **Skip and Publish**.
### 1.5 Publish the assistant
In the publishing popup window, select **Skip and Publish**.
 ## Step 2: Add your API keys to Vapi (optional)
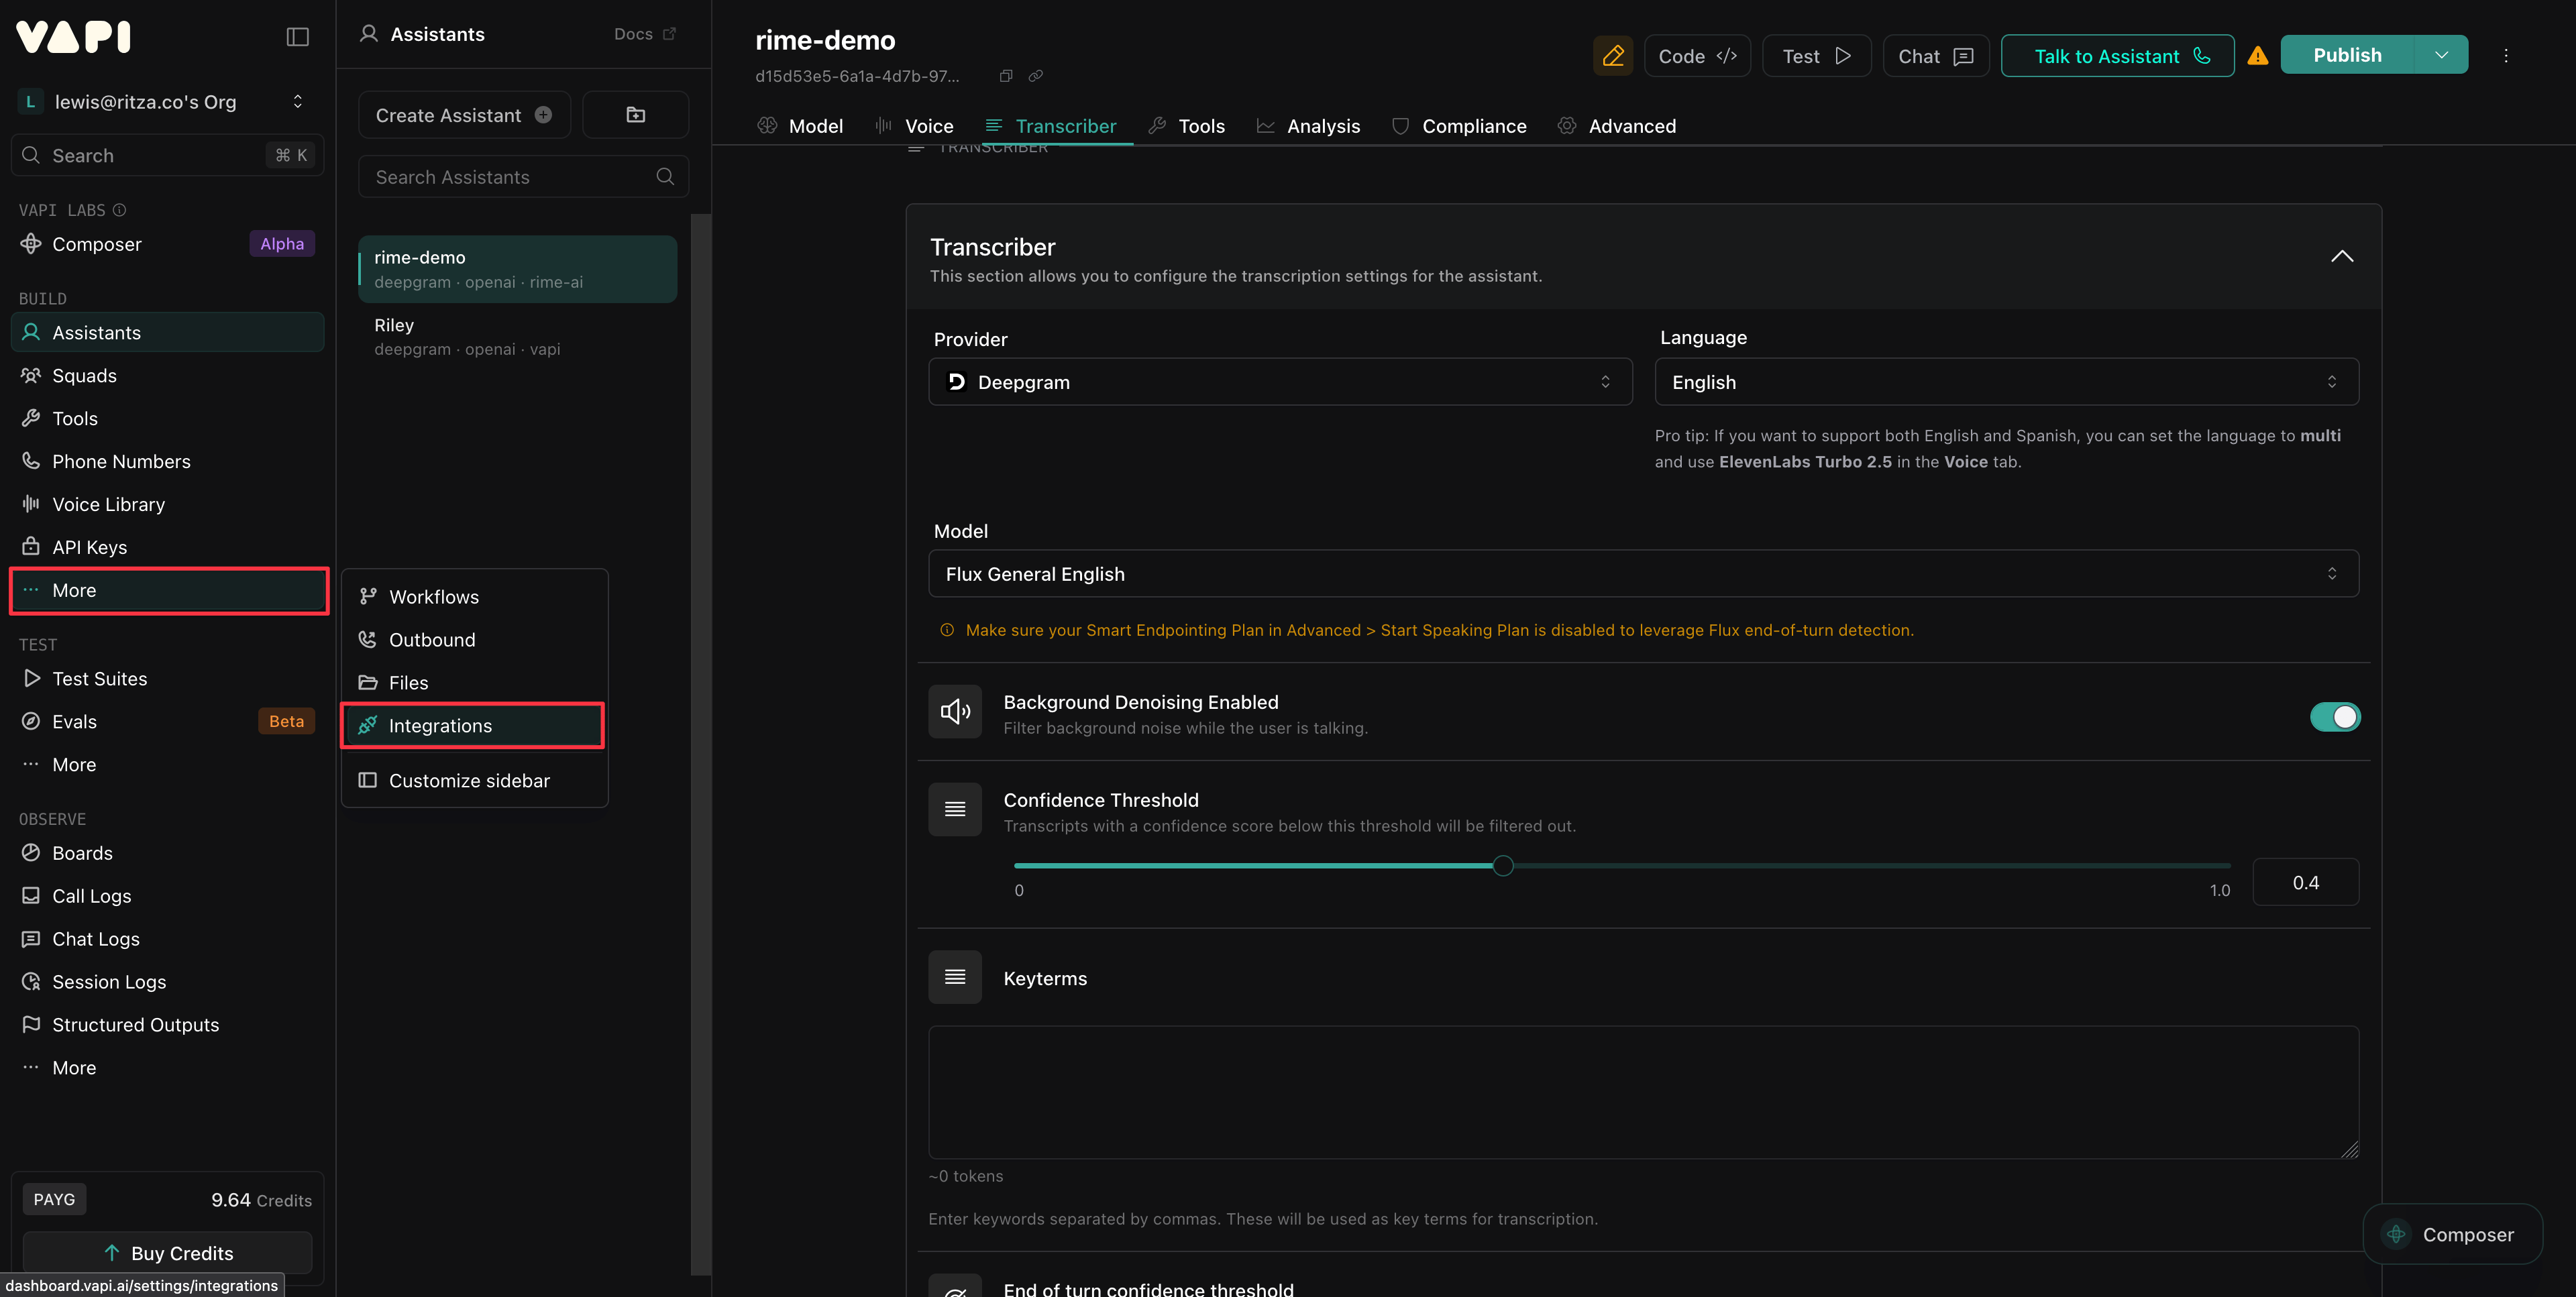
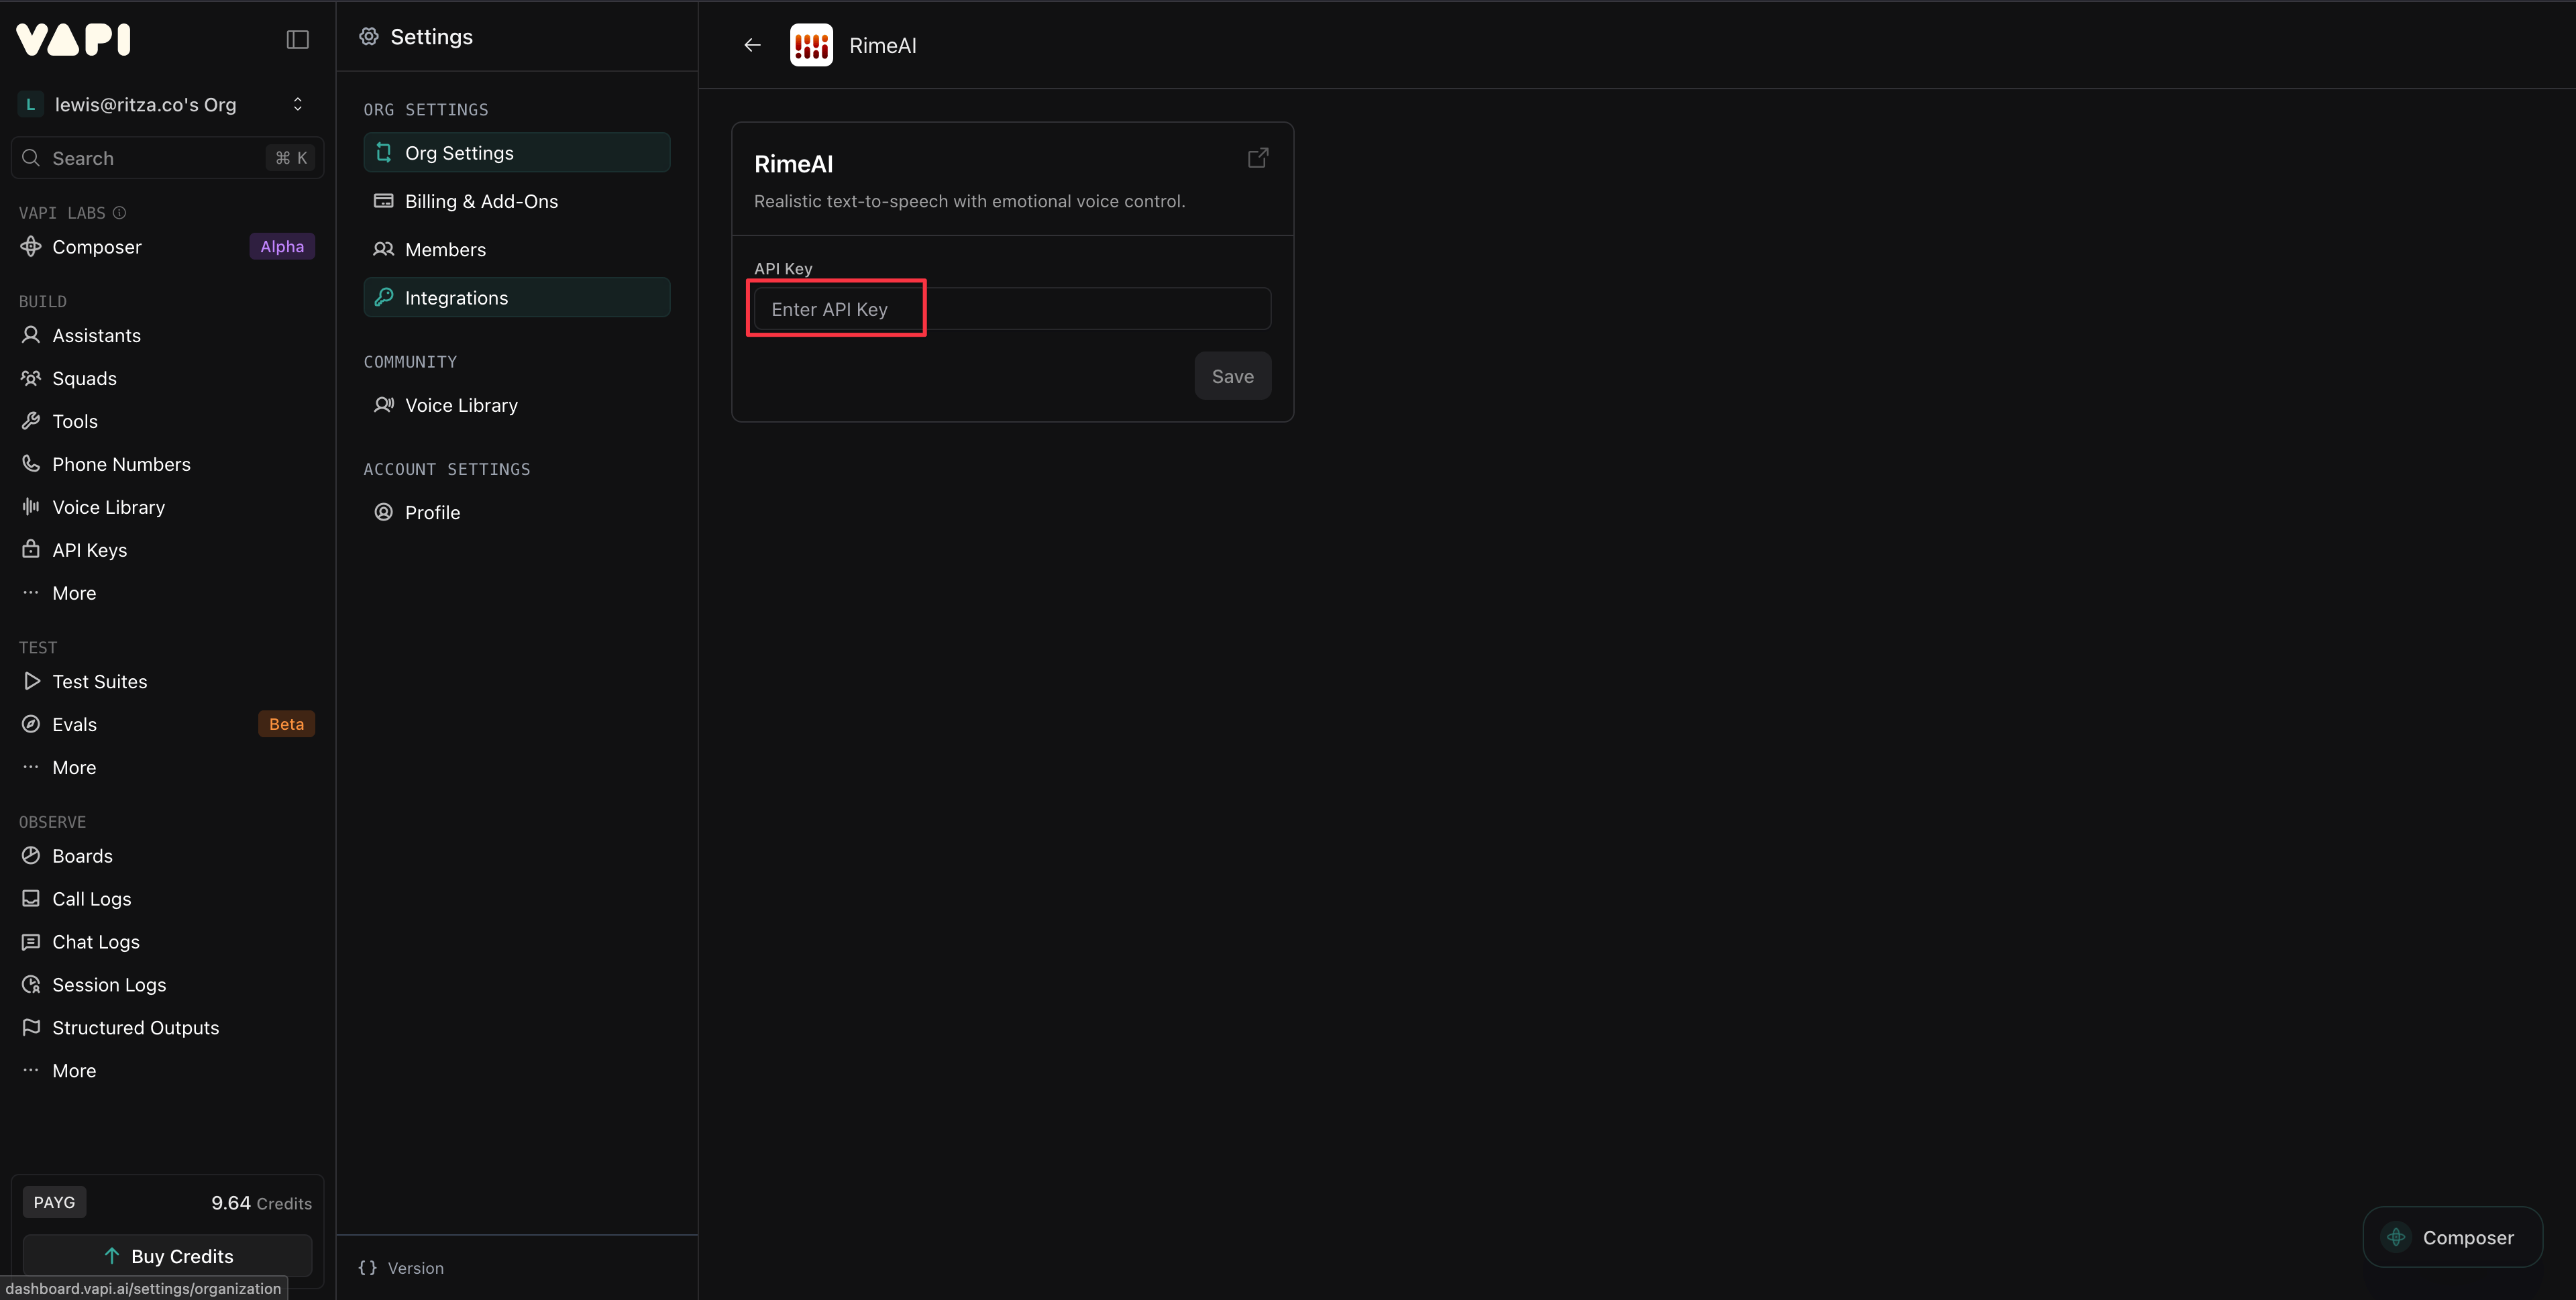
Vapi provides API access to all its supported models via its billing plans. However, if you already have a subscription plan for one or more of your assistant's configured providers, you can enable the assistant to access them instead of using integrated Vapi billing:
In the **Build** section, open **More → Integrations**. Find each provider and add its API key.
## Step 2: Add your API keys to Vapi (optional)
Vapi provides API access to all its supported models via its billing plans. However, if you already have a subscription plan for one or more of your assistant's configured providers, you can enable the assistant to access them instead of using integrated Vapi billing:
In the **Build** section, open **More → Integrations**. Find each provider and add its API key.
 Vapi stores provider keys under **Integrations** and makes them available to your assistants.
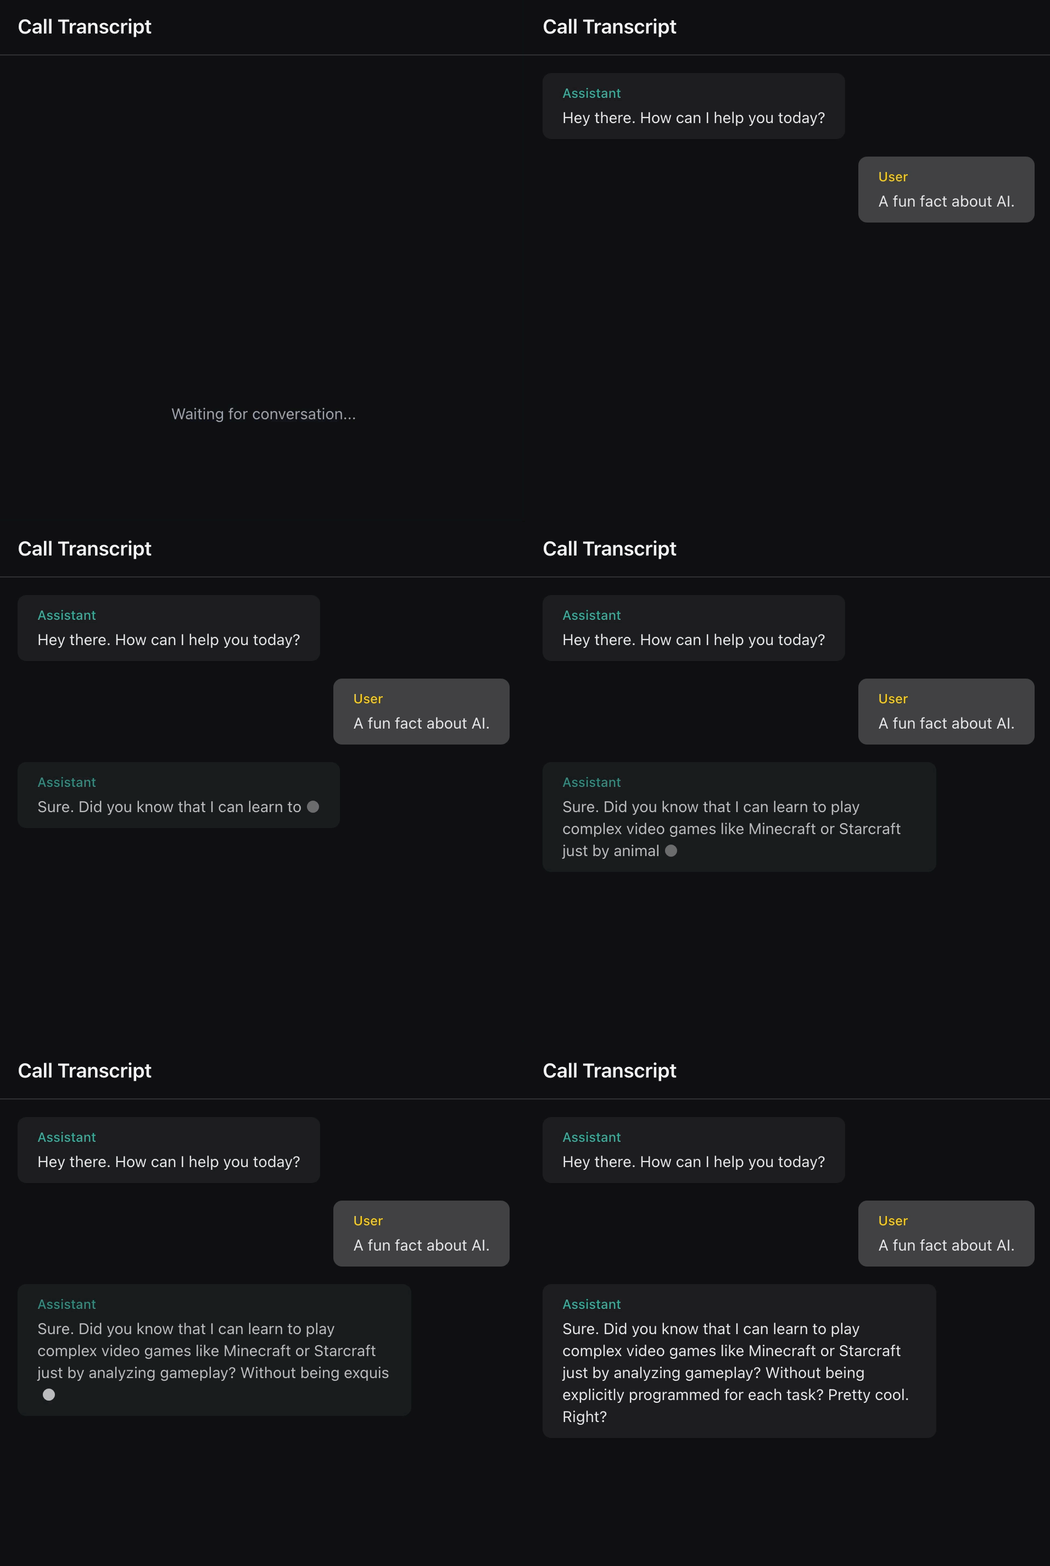
 ## Step 3: Test your assistant
In the Vapi Dashboard, select **Talk to Assistant** to start a conversation in your browser.
## Extend the assistant
* **Try different voices:** Audition other voices like `celeste`, `orion`, and `andromeda` at [app.rime.ai](https://app.rime.ai).
* **Add a phone number:** Provision a contact number in the Vapi Dashboard and assign it to your assistant for telephony.
* **Create a workflow:** Program your assistant to do complex tasks using [Vapi Workflows](https://dashboard.vapi.ai/workflows).
* **Customize the personality:** Update the system prompt to match your use case.
## Step 3: Test your assistant
In the Vapi Dashboard, select **Talk to Assistant** to start a conversation in your browser.
## Extend the assistant
* **Try different voices:** Audition other voices like `celeste`, `orion`, and `andromeda` at [app.rime.ai](https://app.rime.ai).
* **Add a phone number:** Provision a contact number in the Vapi Dashboard and assign it to your assistant for telephony.
* **Create a workflow:** Program your assistant to do complex tasks using [Vapi Workflows](https://dashboard.vapi.ai/workflows).
* **Customize the personality:** Update the system prompt to match your use case.